Packet BBS
“`html
The Foundations: the Linux Kernel and the AX.25 Stack
Packet Radio celebrates around 40 years of existence in 2022, considering the first experiments developed between the late 1970s and early 1980s. During those years, several amateur radio groups contributed to the development of this technology; among them, the American Radio Research and Development Corporation (AMRAD) proposed the use of an amateur-radio-adapted version of the CCITT X.25 standard, a packet networking protocol. This was something revolutionary compared to other digital amateur radio communication technologies of the time. AX.25 indeed allows, thanks to its shared medium access mechanism (CSMA), multiple stations (nodes) to operate on the same frequency, enabling the sharing of a single radio channel among multiple users. Furthermore, through nodes and digipeaters implementing store-and-forward mechanisms, reliable transfers can be achieved even between two stations that are not directly reachable. This was a completely different world compared to typical amateur digital communications, generally point-to-point, and extremely interesting also from an educational standpoint, considering that at the time data networks were still in their infancy even in the business world. The downside was that its implementation required each node to be equipped with a TNC (terminal node controller), a small dedicated microcomputer handling all processing required for data exchange.
This was still technology largely developed by radio amateurs, driven in those years by the Tucson Amateur Packet Radio (TAPR) group: their TNC-1 kit appeared in the July and August 1983 issues of Ham Radio Magazine and became the first of a long series of amateur and commercial products.
Although activating it in those years required significant investment — in addition to the TNC, a computer or terminal was essential — packet radio quickly gained a strong community of enthusiasts due to its ability to distribute and make amateur radio news and documentation available across regions. Its golden age lasted over 10 years. Then, in parallel with the development of the Internet, which gradually overshadowed this capability, it fell into near disuse. Today it is mainly used as support for APRS, but it still survives in local networks and experimental activities.
That said, packet radio remains an excellent educational and experimental tool in the field of networks and digital communications — especially today, when technological advances have made it possible to implement it at negligible cost.
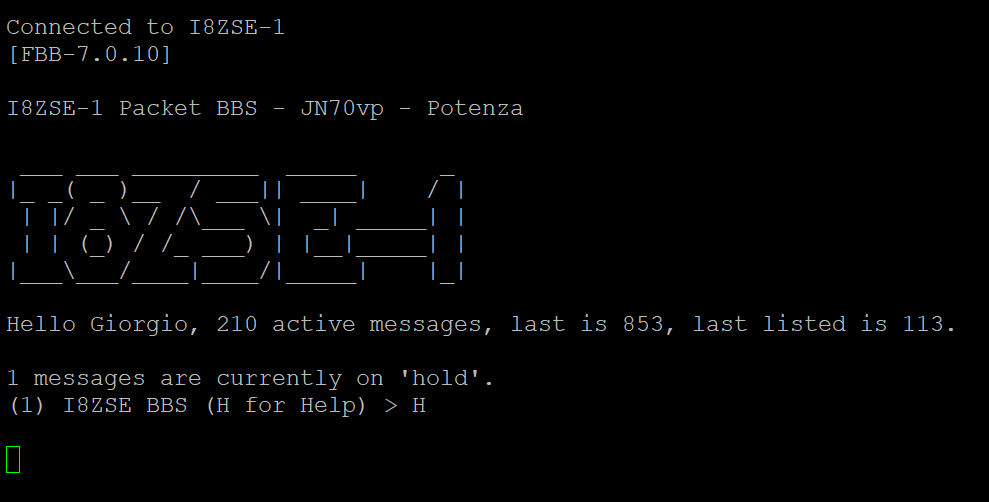
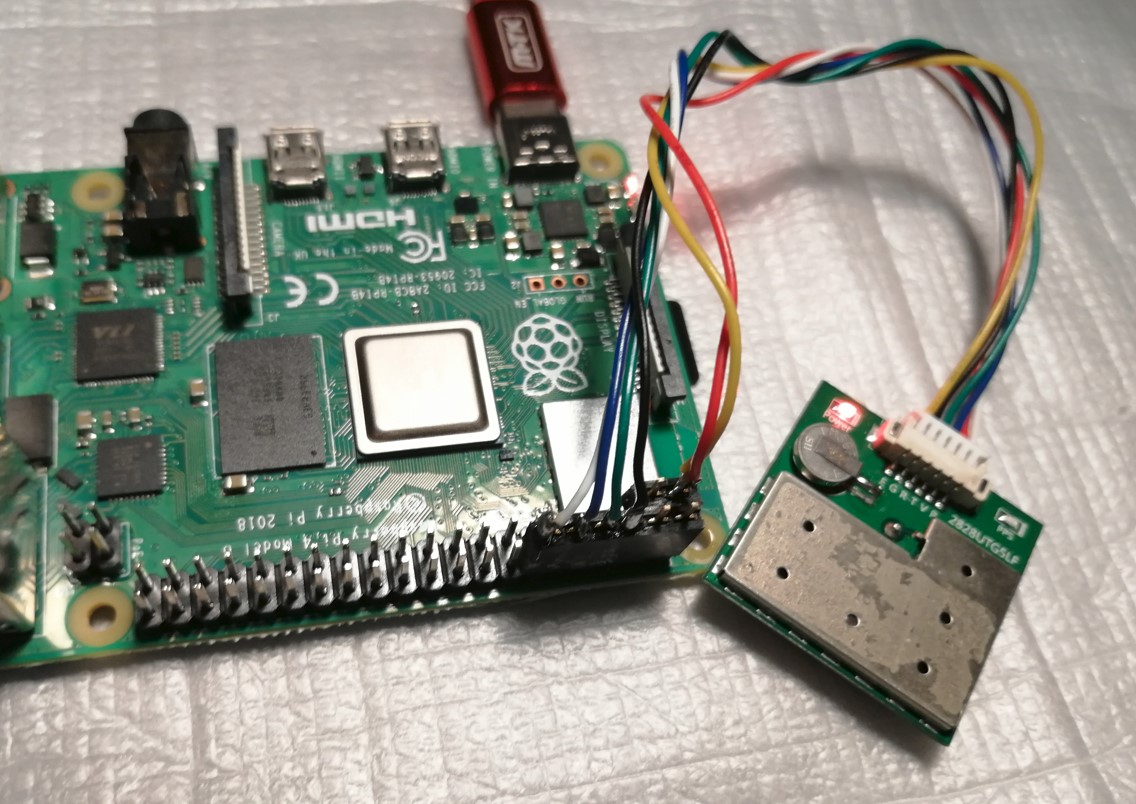
An example is the packet node I assembled these days, operating from my shack on 144.875 MHz.
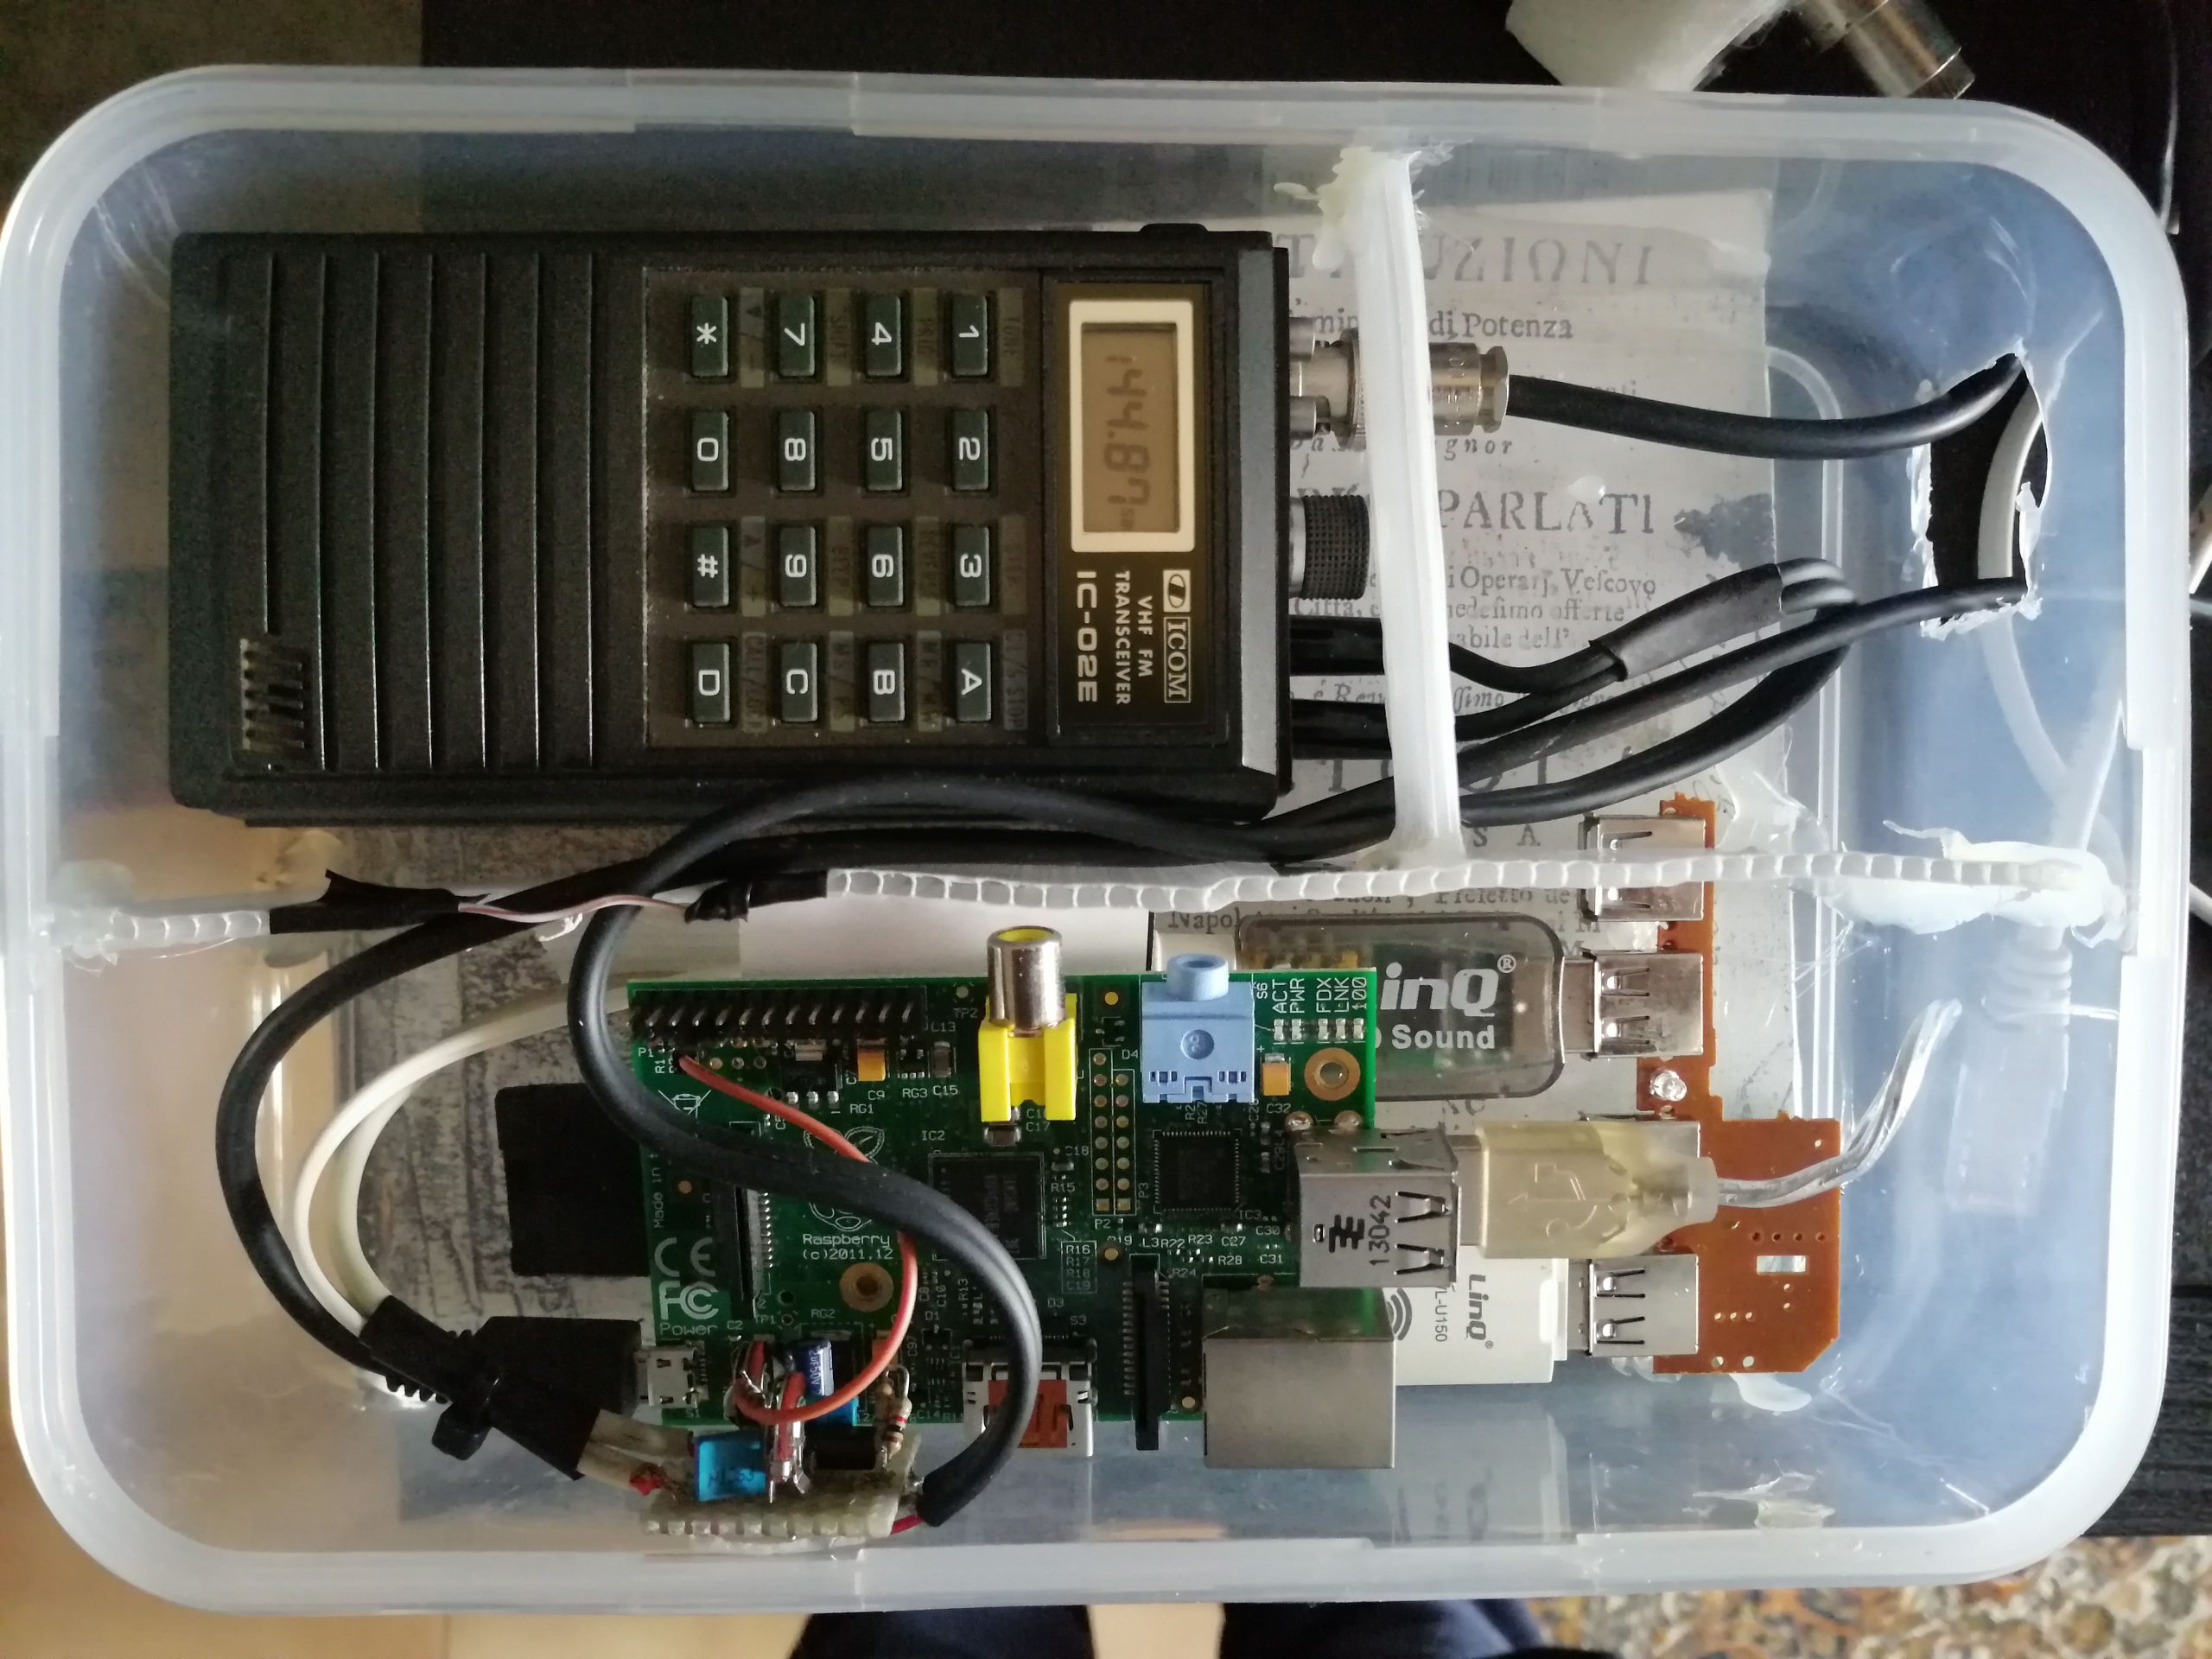
It is based on an old Raspberry Pi 1 B. To “do packet” with a Raspberry Pi, which does not have a usable analog audio input, it is sufficient to add a USB audio “dongle”. The transceiver is an old Icom IC-02E.
The Operating System
Linux has native support for AX.25 and is therefore the most suitable operating system for this application. As a distribution I used Devuan, a Debian-based system without systemd: the resources of the RPi-1 are quite limited, so it is useful to follow the KISS philosophy. I specifically used version 2 (called ascii), which uses kernel 4.14. For packet radio use it may be preferable to avoid very recent kernels, since in some configurations the AX.25 stack presents known unresolved issues. In particular, on Raspberry Pi systems there is also a known bug that may affect proper operation.
TNC functions are implemented in software. On Linux there are two main solutions: soundmodem and direwolf. The latter is more modern and offers superior features, but on very limited hardware such as the RPi-1 it requires more resources. I therefore used the lighter soundmodem (a different project from the similarly named Windows version by UZ7HO), which still works very well with a low resource footprint.
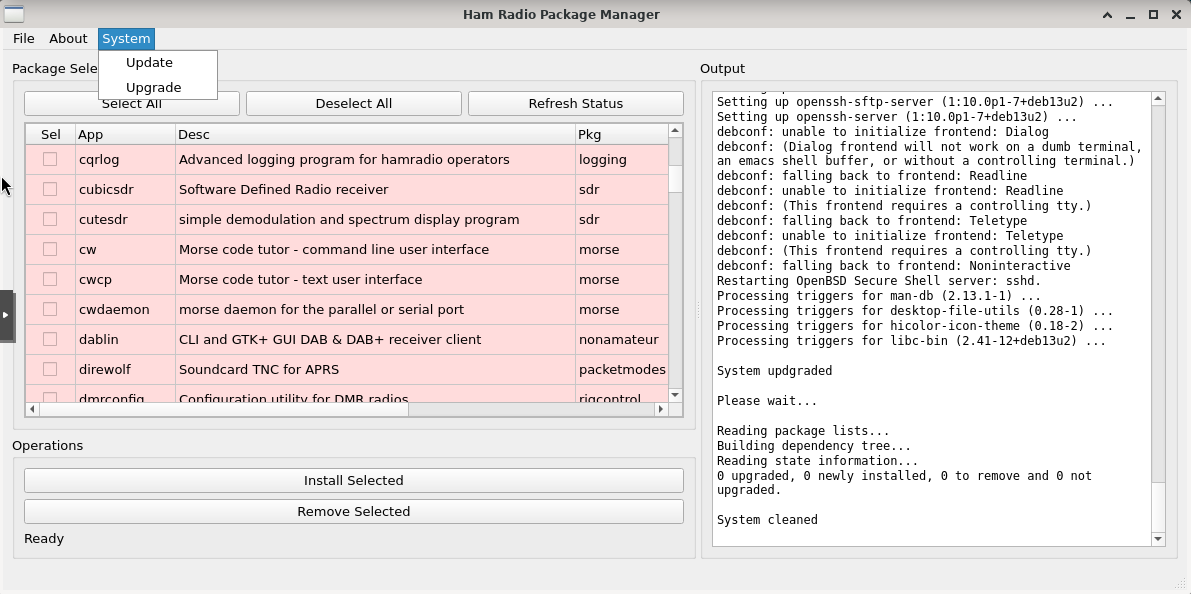
The packages to install via apt-get are therefore soundmodem, libax25, libax25-dev, ax25-tools, ax25-apps. It is convenient to disable onboard audio by editing /boot/config.txt and adding the line dtparam=audio=off.
The Transceiver
The project is intended for 24/7 continuous operation, so it requires a dedicated device. The most suitable type is an HT, or walkie talkie. It is likely that you already have one unused in your shack, and nowadays they are extremely inexpensive anyway. I used an old Icom IC-02E, but I also tested other devices such as the Baofeng UV-5R. Since handheld radios do not have a standard method for transmit switching, a dedicated interface must be built.
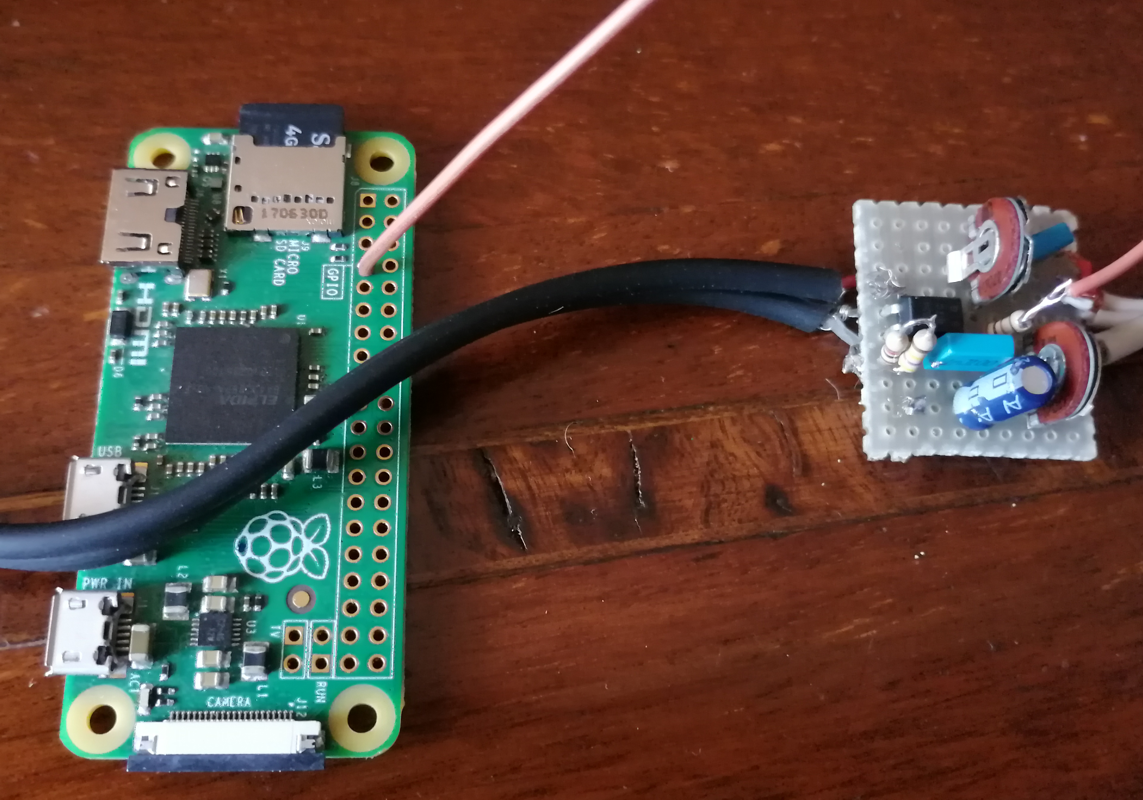
The Interface
This can be adapted, with small variations, to multiple models: those that key by pulling the microphone hot line to ground through a resistor (Icom, Yaesu), and those that instead close the microphone ground to the speaker ground (Baofeng).
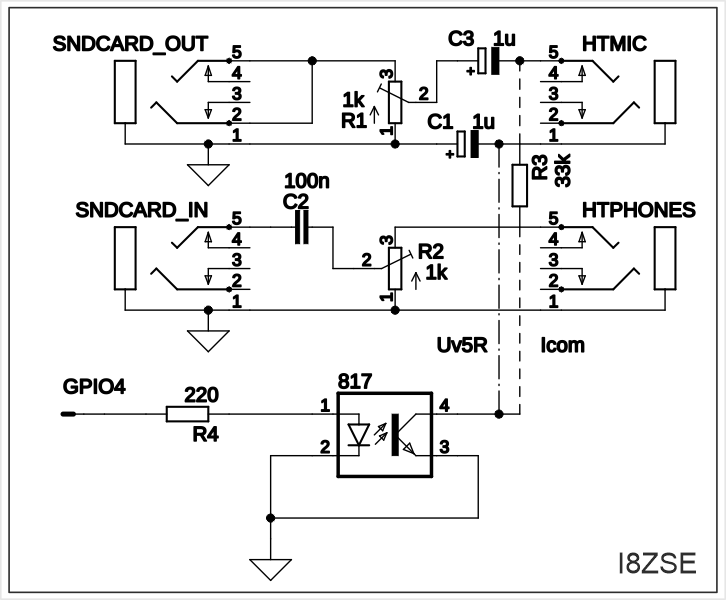
The two audio lines are used to match the output levels of the Raspberry Pi and the HT (both designed for headphones/speakers) to the microphone inputs of the counterpart, with DC isolation. I did not find it necessary to use isolation transformers.
A third line is used for transmit switching (PTT). Some people use the HT VOX, but this is not an optimal solution: it is designed for voice and introduces unwanted delay in digital modes, increasing latency. The best solution, in the case of a Raspberry Pi, is to use a GPIO line such as GPIO4.
Both soundmodem and direwolf allow direct use of a GPIO as PTT, as does hamlib for radios with CAT control, or classic serial control line interfaces.
GPIO isolation (which operates at 3.3V) is handled by an optocoupler.
AX.25
The next step is configuring the AX.25 stack. The first file to modify is /etc/ax25/axports:
# /etc/ax25/axports # # name callsign speed paclen window description # ax0 I8ZSE-3 1200 255 2 144.875 (1200 bps) |
The fields are: name, callsign, speed, paclen, window, and description.
Once the port is defined, soundmodem is configured in /etc/ax25/soundmodem.conf. […]
In the pkt line, mode can take two values: MKISS and KISS. MKISS allows multi-channel operation and can be used as a basis for more advanced configurations, while KISS creates a simple interface to the AX.25 stack.
Hamlib
[…]
Soundmodem must always run in the background; it can be started automatically at boot, for example via crontab using an @reboot entry.
After rebooting, the AX.25 stack should be configured and active.
With more powerful hardware (such as an RPi-3/4 or a PC), it is possible to use Direwolf instead of soundmodem as a soft-modem. It implements the basic functions of a KISS TNC but also offers many additional features. It can operate as an APRS GPS tracker, digipeater, and gateway without external software, and can be used over TCP/IP as well as through the AX.25 stack. The full feature list is available on the project’s GitHub page.
Direwolf is available in the apt-get repositories; however, since it is an actively developed project, it may be preferable to download and compile the latest source code.
The Direwolf configuration file is a simple text file. For TNC usage, the following example is equivalent to the soundmodem configuration shown earlier:
PTT GPIO 4
ACHANNELS 1
CHANNEL 0
MYCALL I8ZSE-1
MODEM 1200
Direwolf supports several PTT control methods, all well documented. For example, for a Yaesu FT-897 connected via CAT at 38400 bps:
PTT RIG 1023 /dev/ttyUSB0 38400
Direwolf can display diagnostic information directly to stdout, which is very useful for system tuning. For this reason it is convenient to run it in a separate terminal so that it can be monitored at any time. For this purpose, GNU screen can be used, installable with apt-get install screen. Screen is a terminal multiplexer that allows persistent sessions detached from the original terminal, which can be reattached later.
To start Direwolf I use the following script:
echo "starting Direwolf..."
/usr/bin/screen -d -m -S direwolf /usr/bin/direwolf -p -c direwolf.conf -t 0
sleep 2
PTS=`ls -l /tmp/kisstnc | awk '{ print $11 }'`
/usr/sbin/kissattach $PTS ax0
# set kiss parameters
/usr/sbin/kissparms -c 1 -p ax0 -r 125 -t 250 -s 20 -f n -l 20
echo "... started"
The command /usr/bin/screen -d -m -S direwolf starts a detached session named direwolf, in which /usr/bin/direwolf -p -c direwolf.conf -t 0 is executed. The -p option creates a pseudo-terminal used to connect the AX.25 stack, while -t 0 disables text coloring.
Direwolf creates a symbolic link in /tmp/kisstnc to expose the dynamically assigned pseudo-terminal name. This value is read into the variable PTS, which is then used by kissattach to attach the AX.25 interface (ax0). The kissparms command is then used to configure AFSK channel timing parameters.
Direwolf can be run in user space, provided the user has access to audio devices (audio group). However, some commands require elevated privileges; a simple solution is to enable the SUID bit (chmod u+s) on the required executables (direwolf, kissattach, kissparms, axlisten, axcall, etc.).
Audio Levels
Both soundmodem and Direwolf require careful adjustment of audio levels, both for transmission and reception. A first coarse adjustment can be made via the hardware interface, while fine tuning is done using the ALSA mixer (alsamixer):
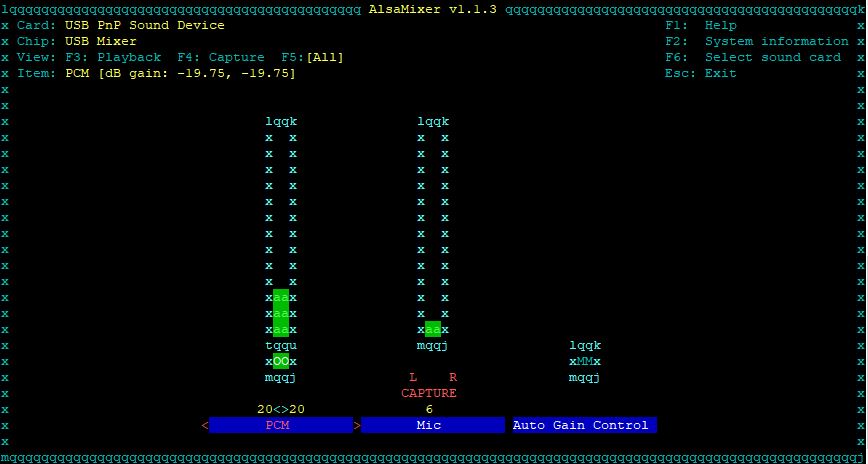
Transmit adjustment is relatively simple: even without measurement tools it is enough to monitor modulation using another radio. On reception it is useful to rely on Direwolf’s diagnostic output, which indicates whether the audio level is too high or too low. Even on less powerful systems it can be useful to run it temporarily for calibration. It is advisable to disable automatic gain control to obtain more accurate results.
Once configuration is complete, it is important to save it with alsactl store, otherwise it will be lost after reboot.
To access the Direwolf session: screen -r direwolf. To detach while keeping it running: CTRL-A followed by D.
Modem
The AX.25 protocol does not define the type of modem to be used. The most common standard on VHF/UHF is 1200 baud AFSK, with tones at 1200 and 2200 Hz (derived from Bell 202). This is an outdated and inefficient technology. More advanced alternatives exist, such as 9600 baud G3RUH, originally designed for satellite use but also adopted for terrestrial links, or solutions such as SuperVozelj.
An alternative approach is the use of more efficient modulation schemes that better exploit the available bandwidth (about 2.2 kHz) with standard equipment. However, in amateur radio usage, speed is not always the priority, except for specific applications such as emergency communications.
Direwolf also supports FX.25, which introduces forward error correction mechanisms. Soundmodem also includes experimental modes such as Q15X25.
These are still interesting areas of experimentation: remaining tied to the TNC-2 model is quite limiting today.
Testing
Once levels are adjusted, it is time to test the system. For this purpose, the Test CD by WA8LMF is very useful, containing recordings of radio traffic that can be used as a test source. In Linux, the axlisten command allows monitoring received traffic, while axcall allows establishing a connection with another station and testing the transmit chain.
At this point, the packet radio layer of the system is operational, and applications can be installed.
LinFBB
F6FBB is a well-known BBS application used since the 1980s. LinFBB is the Linux version, installable via apt-get or from source. Its configuration requires several files; among them, one of the most significant is port.sys:
# FBB7.0.10
#
#Ports TNCs
1 1
#
#Com Interface Adress (Hex) Baud
1 9 0 1200
#
#TNC NbCh Com MultCh Pacln Maxfr NbFwd MxBloc M/P-Fwd Mode Freq
0 0 0 0 0 0 0 0 00/01 ---- File-fwd.
1 4 1 ax0 250 7 2 10 30/05 XUWYL 144.875
#
# End of file.
#
LinFBB can be started automatically at system boot via /etc/rc.local. It is possible to connect locally using xfbbC -c -i <callsign> (TCP port 3386).
DxSpider beacon
On my node there is also an active beacon that displays spots coming from the DXCluster network, in particular from the node dxcluster.i8zse.eu. The system waits for commands sent via UI packets (DXCLUSTER HELP or DXCLUSTER <filter>), temporarily enabling transmission of filtered spots.
The software is available on GitHub.
 Link utili
- Ax25 Link Layer Protocol, 2.0, 1984
- Ax25 Link Layer Protocol, 2.2, 1998
- Protocol KISS TNC
- Soundmodem sources on GitHub
“`

Post Comment