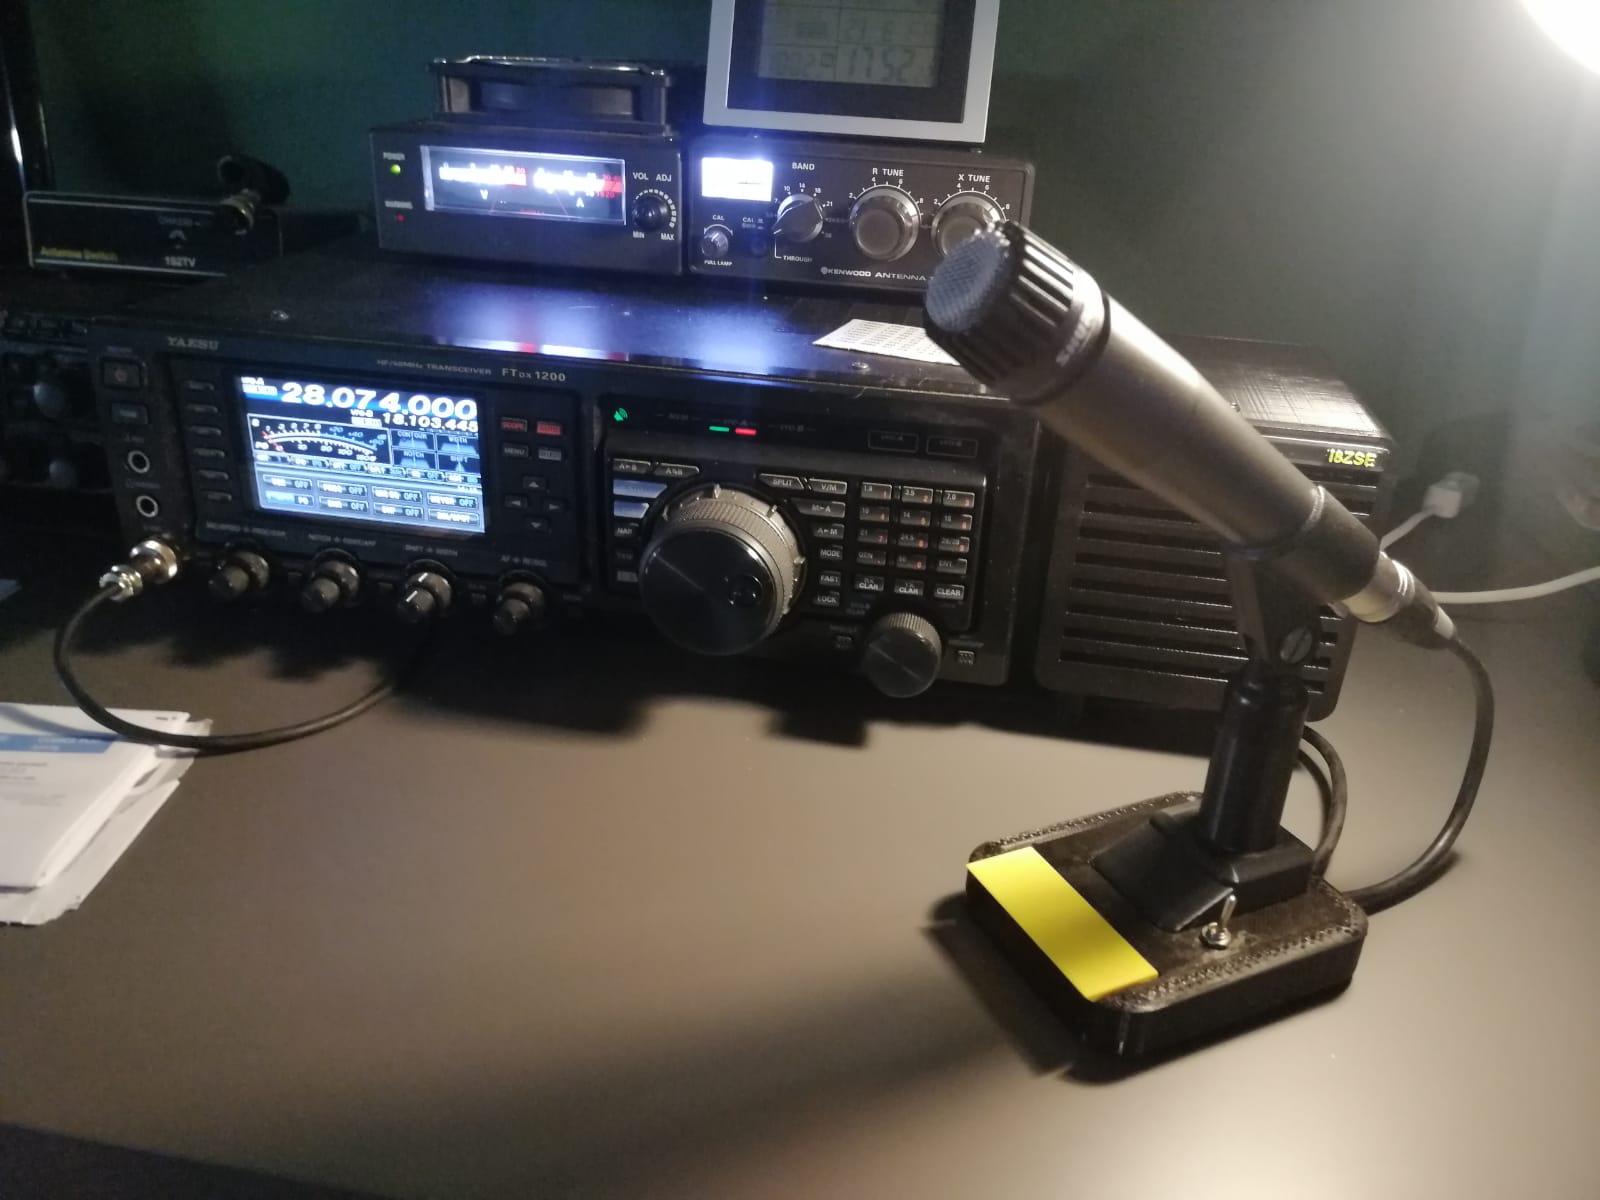
PTT Mike Stand
In the world of ham radio, it is quite common to come across “premium-branded” accessories offered at prices that are completely out of proportion compared to the cost of the radio equipment itself, especially when it comes to station audio gear. This category mainly includes microphones and speakers: for communication, hi-fi is not required, but rather a good midrange response—something that is very easy to achieve.
Since I already have a solid collection of microphones for another of my hobbies—music—I asked myself: why not use an XLR studio microphone with my radio equipment? In reality, even low-cost solutions, often salvaged or second-hand, are more than adequate to achieve excellent transmission audio quality. The real limitation is not the microphone quality itself, but the PTT (Push-to-Talk) management, which—of course—is never present in this type of peripheral.
And this is exactly where DIY makes the difference once again.
I designed and built a 3D-printed support that integrates a large, ergonomic PTT button, along with a switch for long transmissions, paired with a standard 5/8 thread rod, allowing the use of any commercial microphone boom without invasive modifications. This ensures full mechanical compatibility with the most widely used standard in the audio sector.
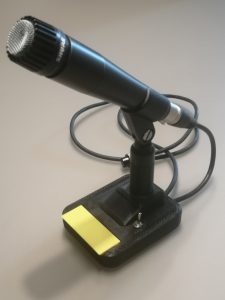
The microphone shown in the photos is a branded unit, but any dynamic voice microphone works perfectly well—there are good ones even under twenty euros: nothing exotic, but fully suitable for voice operation. The XLR connector is wired in unbalanced configuration, while the radio side is terminated according to the specific wiring scheme of the transceiver—in my case, an FTdx-1200.
The button actuates a subminiature microswitch, which is paralleled with a second on/off switch for long transmissions. To improve actuation smoothness and tactile response, I used two small springs recovered from ballpoint pens: a trivial solution, yet surprisingly effective in terms of elasticity and durability.
This approach once again demonstrates how, in ham radio, the difference is not necessarily made by budget, but by the ability to adapt and design tailored solutions.
My 3D printing parameters:
- Printer: Creality Ender 3
- Layer height: 0.16 mm
- Infill: 20%
- Supports: Yes
- Raft: not required
Often, with just a few hours of design and printing, it is possible to obtain solid, functional accessories that integrate perfectly into your operating setup, without necessarily chasing expensive or over-engineered products.

Share this content:
Post Comment