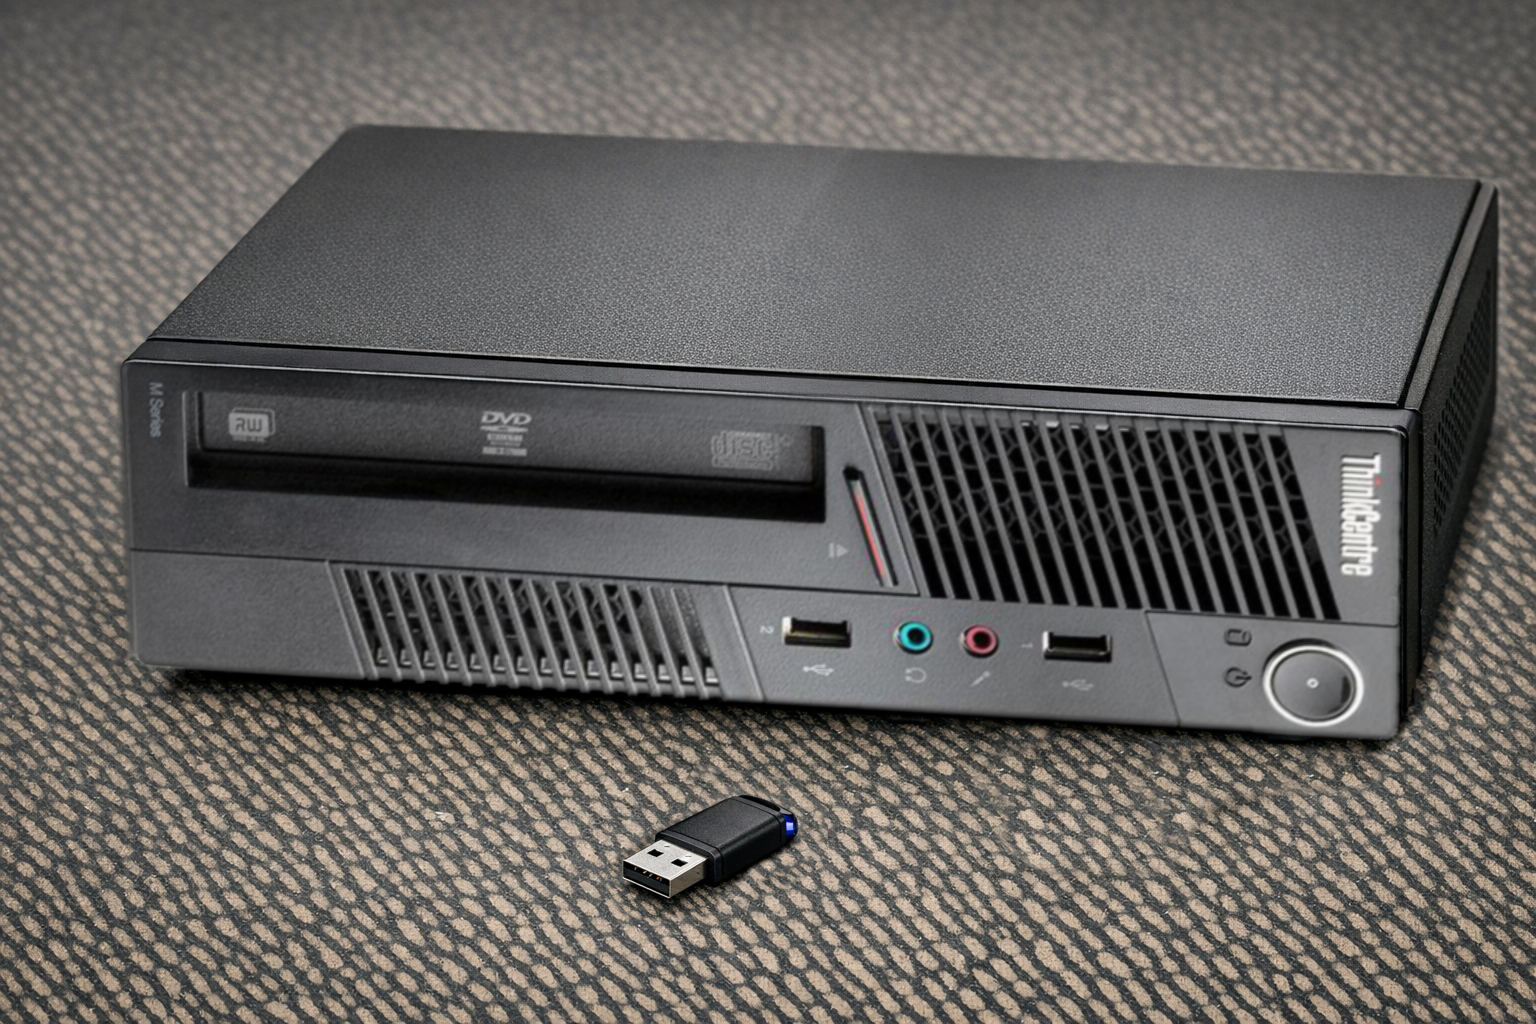
The installation process of HamLinux on a Personal Computer starts from the live installation disk image, which can be downloaded here. This image can be burned to a DVD or, more simply, written to a USB flash drive to install the system onto the PC’s hard drive. To do this, a dedicated program is required: the easiest to use is Balena Etcher, which can be downloaded from here.
The program requires only a few steps to create a bootable USB drive. First, select Flash from file and choose the ISO file you just downloaded.

Next, select the target drive by clicking Select target and choosing the USB drive from the list of available devices.
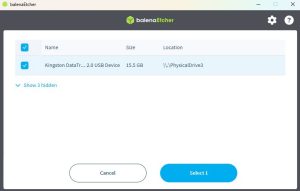
At this point, simply click Flash to start writing. After a few minutes, the USB drive will be ready. It can then be inserted into the PC where HamLinux will be installed, with the computer powered off.
Now you must boot the PC by selecting the USB drive as the boot device (boot menu). There is no universal key for all computers: often F12, F11, F8, or ESC is used, pressed immediately after powering on. In many cases, a message on the screen indicates which key to press, for example “Press F12 for boot menu”. Once the menu opens, select the newly inserted USB drive.
After a few seconds, the following screen will appear.
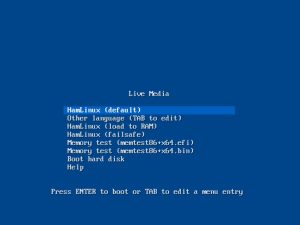
If nothing is selected, the system will start in English. By choosing Other Language, you can immediately use Italian (including keyboard layout). After a short loading phase, during which technical messages appear (which can be ignored), the HamLinux desktop will be displayed.
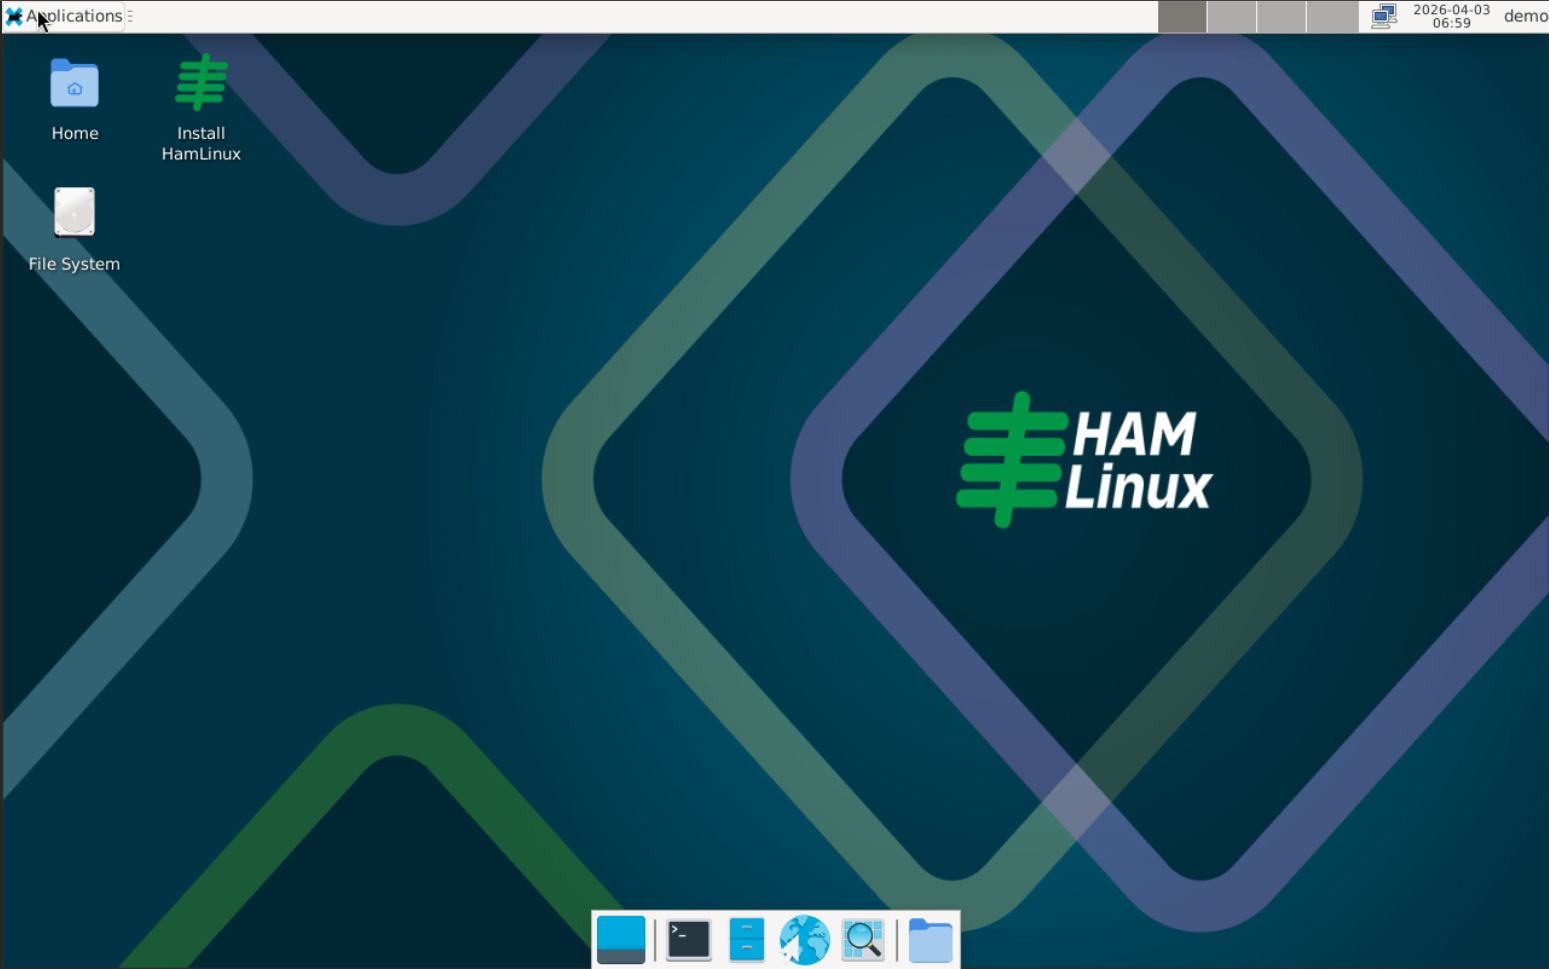
The system is already functional in live mode: it can be tested freely, but its main purpose is the permanent installation on the computer’s disk.
 Info
InfoWarning: This procedure completely erases all data on the target disk. Use with caution!
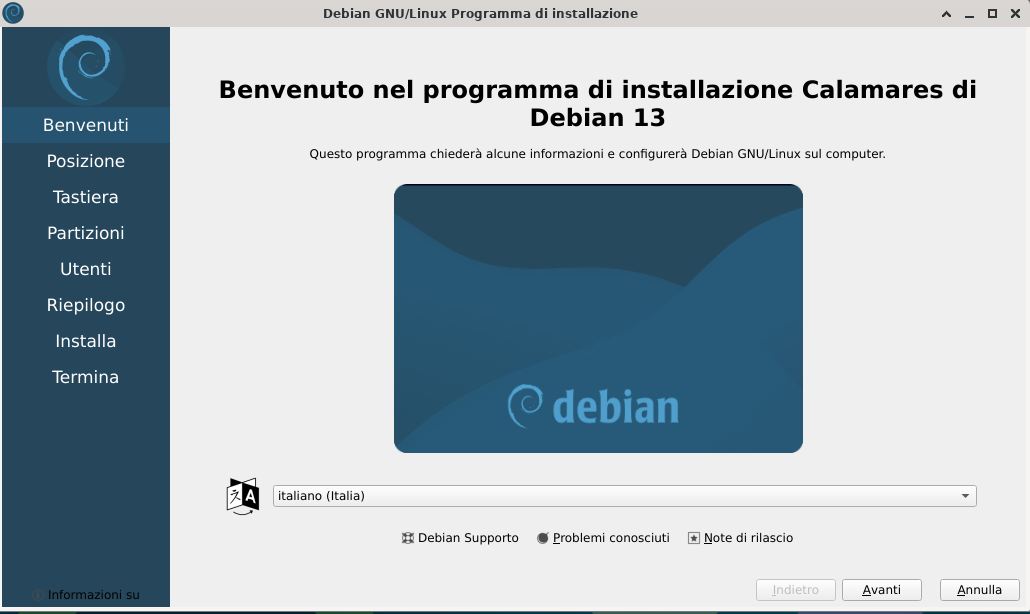
To start the installation, simply click “Install HamLinux” at the top left of the desktop. A password will be requested: the user is demo and the password is still demo. The first step is language selection:
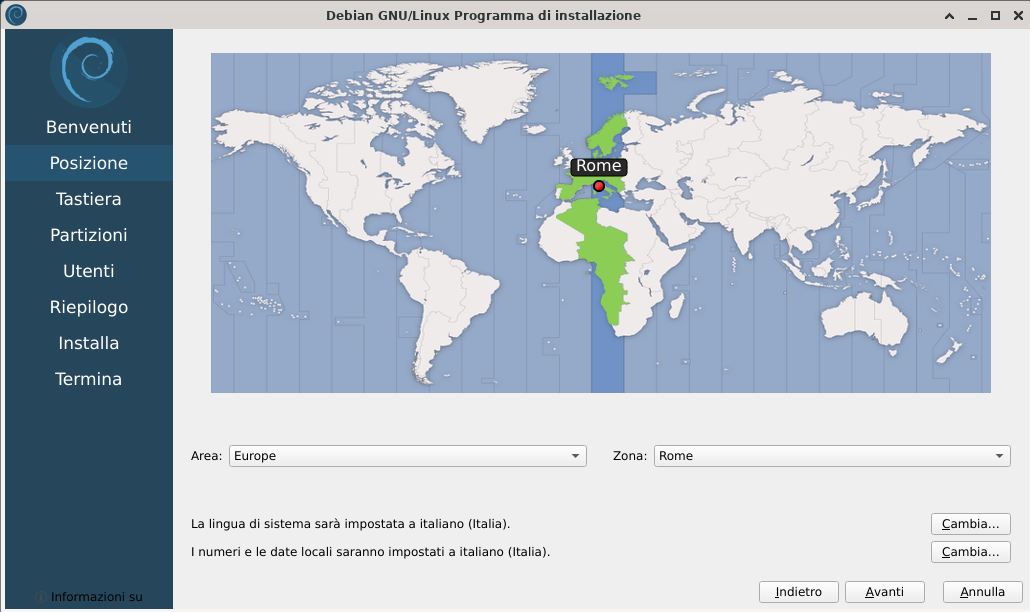
This is followed by location selection:
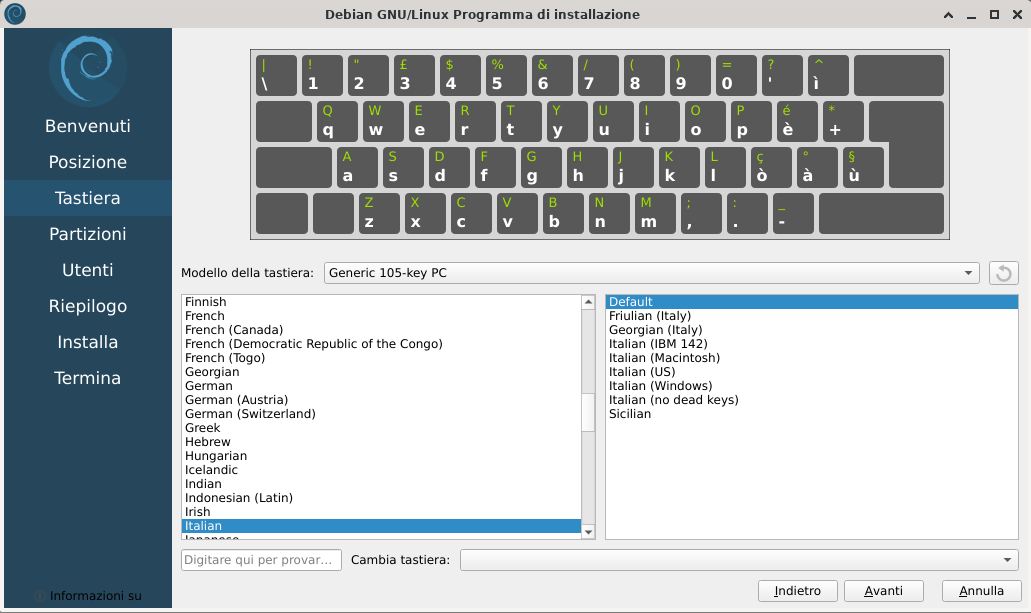
Then the keyboard layout:
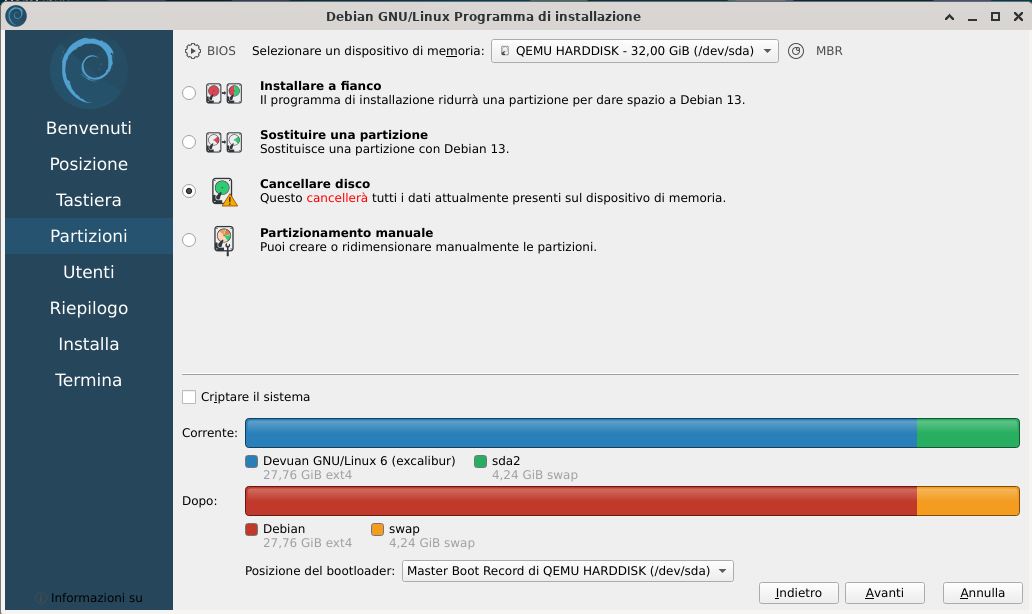
The most important step is choosing the disk where the system will be installed. If the computer has only one disk, the choice is automatic. If the PC is dedicated exclusively to radio activity, you can select the option Erase disk.
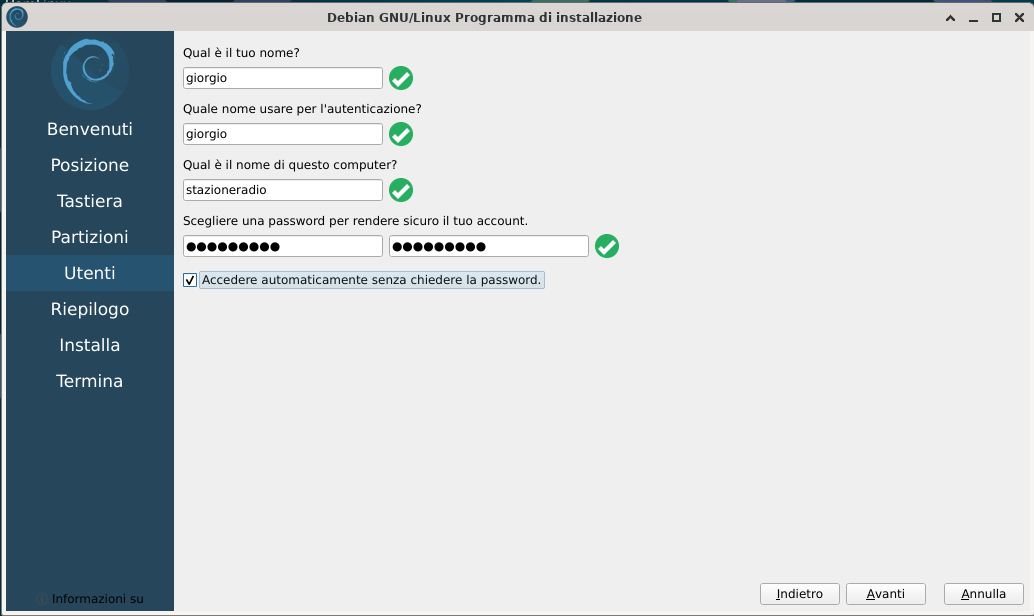
Finally, you must enter username, password, and computer name. You can enable automatic login at startup, but it is important to remember the password because it will be required for system operations.
Once all data has been entered, the program shows a summary and asks for confirmation to proceed.
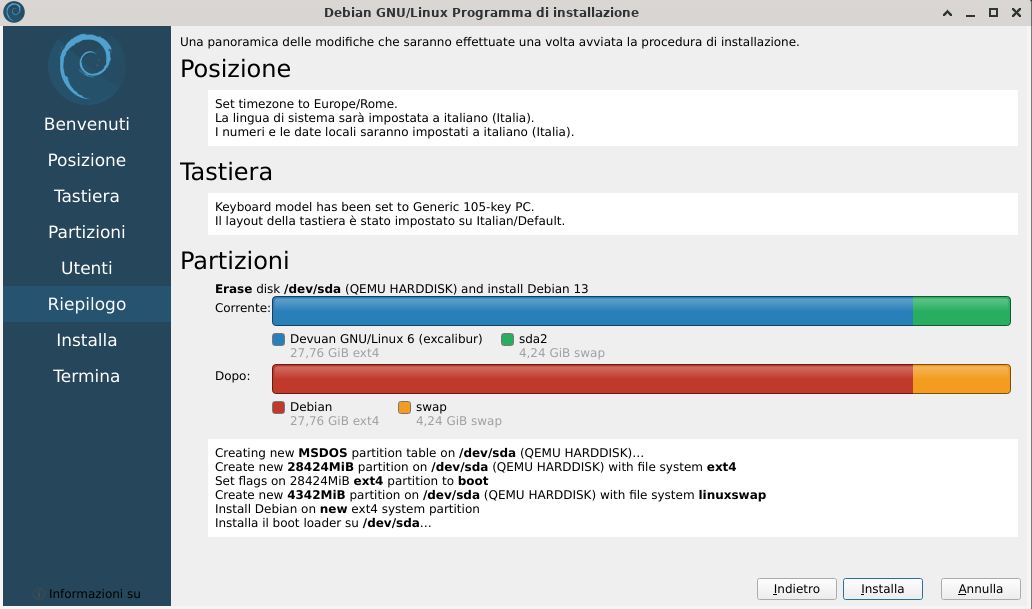
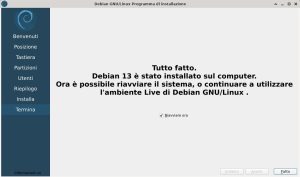
Clicking Install will start the procedure, which takes a few minutes. At the end, a confirmation window will appear.
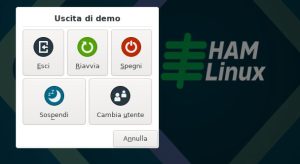
At this point, you can reboot the system: click “demo” in the top right corner and select Exit.
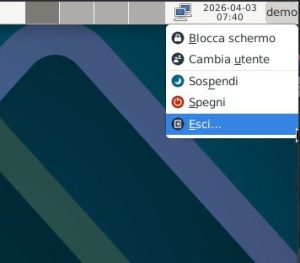
Then choose Restart.
Before rebooting, remember to remove the USB drive.
HamLinux is now installed and ready to use!